To paint crown molding, use a waterborne alkyd or urethane-modified trim enamel in semi-gloss over a primed, sanded surface. Paint the ceiling first, then the crown, then the walls. Fill the nail holes, caulk the joints to the wall and ceiling, and lay on two thin coats with a good angled brush. Thin coats are what keep the drips away.
Crown is the hardest trim in the house to paint well. It is overhead, it has two long cut lines (one against the ceiling, one against the wall), and its curves catch raking light from every window. But the hard part is not the paint. It is the order you work in, the prep at the joints, and the patience to put on thin coats and let each one dry. Get those right and painted crown molding looks like furniture. Rush them and it shows sags, brush marks, open miters and a wavy ceiling line from across the room.
We are a family-owned painting company in Morganville and have painted New Jersey interiors across Monmouth, Middlesex, Ocean, Mercer, Somerset and Burlington counties, plus Union, Essex, Hudson, Bergen and Passaic in North Jersey, for more than 20 years, using Benjamin Moore and Sherwin-Williams products. Crown molding is part of most of the living rooms, dining rooms and entries we paint. We paint crown molding; we do not install it. This guide is the long version of what we explain at the estimate.
It is written to be useful whether you hire anybody or not. Every technical figure below comes from a document we fetched and read on 27 October 2026: the dry times, recoat windows, gloss readings, minimum temperatures, primer systems and spray settings from the Benjamin Moore and Sherwin-Williams technical data sheets; the caulk ratings from DAP's bulletin; the light reflectance values from each colour's own page; the installation notes from the moulding makers; the wood-moisture figures from Purdue Extension; and the lead rule from the EPA. Where something is our own practice rather than a published figure, we say so.
The Short Answer
- Use a trim enamel, not wall paint. Benjamin Moore's Advance is a "waterborne alkyd enamel" whose data sheet says it is "ideal for interior doors, trim, cabinets, walls, and ceilings." Sherwin-Williams lists "all trim areas and molding" first among ProClassic's uses. Emerald Urethane Trim Enamel is "formulated with a urethane modified alkyd resin system."
- Semi-gloss is the default sheen. Benjamin Moore says semi-gloss is "perfectly suited to highlight the architectural details of your home." Satin is the softer choice. High gloss looks spectacular on perfect crown and unforgiving on anything less.
- Ceiling first, crown second, walls last. Each surface overlaps a little onto the next, and the next one cuts a clean line back over it.
- Prime before you caulk. Both Sherwin-Williams trim enamel sheets say: "Gaps between walls, ceilings, crown moldings, and other interior trim can be filled with the appropriate caulk after priming the surface."
- Thin coats, and wait. Advance is dry to touch in 4 to 6 hours and ready to recoat in 16. ProClassic and Emerald Urethane recoat in 4 hours. Drips come from loading too much paint and going back too soon.
- Glossy old paint has to be dulled. Advance's sheet says "Sand glossy alkyds before applying Advance." If you are not sure whether your old crown is oil or latex, test it before you buy paint.
- Paint new crown before it goes up. Ekena Millwork says "it is highly recommended that you paint or finish moulding with 100% acrylic latex paint before installation." Then you fill, caulk and touch up after.
- Some cracked joints are seasonal. Purdue Extension says that in a heated house in winter wood can dry to 4.5 percent moisture, and "furniture joints can open." Crown miters do the same thing.
What Is the Best Paint for Crown Molding?
The best paint for crown molding is a hard, self-levelling interior trim enamel. On the sheets we use, that means a waterborne alkyd, an acrylic-alkyd hybrid, or a urethane-modified alkyd. All three are water clean-up products. They are designed to act like the old oil enamels, flowing out flat and drying hard, without oil paint's long dry, solvent smell and yellowing.
Ordinary wall paint will cover crown, and on a lot of builder-grade houses that is what the crown has on it. It stays slightly soft, picks up dust, and shows every brush stroke, because wall paints are made to be rolled flat on a big surface, not brushed into a profile. The difference shows most on crown because crown is lit from the side, by the windows and by ceiling lights shining across it.
The three trim enamels we reach for
Benjamin Moore Advance. Benjamin Moore describes it as "a premium quality, waterborne alkyd enamel that delivers the desired flow and leveling characteristics of conventional alkyd paint." Its sheet lists "excellent flow and leveling properties," "extended open time" and "minimal yellowing," and says it provides "a tough, satin finish that stands up to repeated washing." The trade-off is time: Advance is dry to touch in "4 – 6 hours" and ready to recoat in "16 hours" at 77°F and 50 percent humidity. The sheet also warns that "it could take up to 30 days to reach optimum hardness and final sheen." That long open time is what lets it level out on a curved profile, and it is also why you cannot rush the second coat.
Sherwin-Williams ProClassic Waterbased Acrylic-Alkyd. Its vehicle type is an "Acrylic-Alkyd Hybrid." The project uses on the sheet begin with "all trim areas and molding," and it promises "excellent flow and leveling characteristics for a smooth and durable finish." It dries much faster than Advance: tack free in "20-40 minutes," dry to touch in "1-2 Hours" and ready to recoat in "4 Hours."
Sherwin-Williams Emerald Urethane Trim Enamel. Sherwin-Williams calls it a "‘Best-In-Class’ quality interior-exterior enamel formulated with a urethane modified alkyd resin system" and says it "delivers the look, feel and durability of an oil based enamel with the convenience of a waterbased formula." It is dry to touch in "1 Hour" and ready to recoat in "4 Hours."
| Product | Resin, per the sheet | Dry to touch | Recoat | Gloss @ 60° | Minimum temperature | Primer for bare wood / MDF | VOC |
|---|---|---|---|---|---|---|---|
| Benjamin Moore Advance Satin 792 | Waterborne alkyd | 4–6 hours | 16 hours | 25–35 | 50°F surface | Fresh Start 046 or 032 (wood); Fresh Start 046 (MDF) | 48.5 g/L |
| Benjamin Moore Advance Semi-Gloss 793 | Waterborne alkyd | 4–6 hours | 16 hours | 50–60 | 50°F surface | As for Advance Satin | 43.2 g/L |
| Benjamin Moore Advance High Gloss N794 | Waterborne interior/exterior alkyd | 4–6 hours | 16 hours | 85 minimum | 50°F surface | Advance Waterborne Interior Alkyd Primer 790 (wood, MDF, thermofoil) | 44 g/L |
| Sherwin-Williams ProClassic Waterbased Acrylic-Alkyd Semi-Gloss | Acrylic-alkyd hybrid | 1–2 hours | 4 hours | 41–51 at 24 hours; 34–44 at 30 days | Above 50°F | Premium Wall and Wood Primer | Less than 50 g/L |
| Sherwin-Williams Emerald Urethane Trim Enamel Semi-Gloss | Urethane modified alkyd | 1 hour | 4 hours | 45–65 | Above 50°F | Premium Wall & Wood Primer | Less than 50 g/L |
| Sherwin-Williams Emerald Urethane Trim Enamel Satin | Urethane modified alkyd | 1 hour | 4 hours | 35–45 | Above 50°F | Premium Wall & Wood Primer | Less than 50 g/L |
Three things in that table are worth reading twice.
First, the sheen numbers are not the same from one brand to the next. Advance Semi-Gloss reads 50 to 60 gloss units, while ProClassic Semi-Gloss reads 41 to 51 the day after it is applied and settles to 34 to 44 at thirty days. ProClassic's sheet prints both figures. So two cans that both say "semi-gloss" can look noticeably different side by side. If you are touching up one room's crown to match the next, match the product, not just the sheen name.
Second, all of these need a warm room. Every sheet in the table sets the floor at 50°F. That rarely matters inside a lived-in house. It does matter in a new addition before the heat is on, or in a closed-off room in January.
Third, the dry times are lab figures. Benjamin Moore says "high humidity or cooler temperatures will prolong dry, recoat and cure times." Its high-gloss sheet adds that "extra ventilation is necessary under humid conditions to speed the dry time of Advance." On a sticky New Jersey July day, or a damp week in spring, give the second coat more time than the can says.
What about oil-based paint?
Solvent-borne oil enamel was the standard for trim for generations. It still levels beautifully, but it yellows, especially in rooms that get little daylight. It also takes a long time to dry and smells strongly while it does. Even Benjamin Moore's note on Advance says only that it "yellows less than conventional alkyds" and that "a slight amount of yellowing may occur. This effect is accelerated in dark or poorly ventilated areas and is more visible in lighter colors." On white crown in a north-facing dining room, that is the whole argument for the waterborne enamels. We use waterborne trim enamels on interior crown. We use an oil-based primer only as a spot treatment where the data sheet calls for it, for example knots that bleed through, which we cover below.
What Sheen Should Crown Molding Be?
Semi-gloss, in most houses. It is the traditional trim sheen in New Jersey homes for good reasons: it is hard, it wipes clean, and it gives the crown a slight sparkle that separates it from a flat ceiling and an eggshell wall. Benjamin Moore says semi-gloss is "perfectly suited to highlight the architectural details of your home" and that it "cures to a smooth, furniture-like finish." Alexandria Moulding, which makes primed crown, says that "in most applications, a semigloss coat for durability, washability, and appearance is recommended."
The other two choices each have a place:
- Satin is the quieter option. It suits crown that is not perfect: older wood with a few dents, or long runs with joints that will never be invisible. It also suits rooms where the owner wants the trim to blend in rather than shine. Benjamin Moore describes satin as having a "distinctive lustre" that can highlight "trim and even interior doors."
- High gloss is the dramatic option. It is very hard and very easy to clean, and Benjamin Moore calls it "easy to clean, stain-resistant" with "a stunning look to doors, trim." It also shows everything. Benjamin Moore's own warning is that "since a gloss finish reflects light and can accentuate blemishes," you should "avoid using it on areas that are not completely smooth." Sherwin-Williams' gloss guide makes the same point: "Paints with a lower Gloss/Sheen will hide wall imperfections better than paints with a higher Gloss/Sheen." It adds that "you might not use a high-gloss finish in a room flooded with natural light."
In our experience high-gloss crown molding works when three things are true: the crown is new or in excellent condition, the joints are tight and properly caulked, and you are prepared for the extra prep and sanding between coats that a mirror finish needs. Sherwin-Williams notes that gloss "is measured at a 60º angle," and that is roughly the angle you see crown from when you stand in the room, so a high gloss puts every flaw right in your line of sight. For the full ladder of sheens on walls, ceilings and trim, our paint sheen guide sets them side by side.
Crown Molding Paint Ideas: Which White, and Should the Crown Match the Ceiling or the Wall?
Most crown in New Jersey houses is painted white, and the question people actually ask is which white. After that, they ask whether the crown should match the ceiling, the walls or the rest of the trim. There is no single right answer, but there are a few rules that hold up.
Whites, with their published light reflectance values
Light reflectance value (LRV) is the share of light a colour reflects, on a scale where higher is brighter. These are the figures published on each colour's own page, read on 27 October 2026. We have not added any undertone descriptions that the makers do not print themselves.
- Benjamin Moore Chantilly Lace OC-65, LRV 90.04: "A classic go-to white that elicits images of fresh cotton and pure silk." The brightest of the five, and the one we reach for when a client wants crown that reads as plain white.
- Benjamin Moore Simply White OC-117, LRV 89.52: "The slightest hint of warmth makes this clean, crisp white a favorite to use anywhere in the home."
- Benjamin Moore White Dove OC-17, LRV 83.16: "Unerring style defines this clean and classic white." Softer than the two above on the numbers.
- Sherwin-Williams Extra White SW 7006, LRV 85.861.
- Sherwin-Williams Pure White SW 7005, LRV 83.957.
The practical point about white for crown molding is that whites look different next to each other. A crown in a very bright white against a ceiling in a slightly softer "ceiling white" will look either crisp or slightly grubby, depending on the light. Pick the crown white and the ceiling white together, and look at them together, on the ceiling, in the room's own light, morning and afternoon, before you commit.
How crown, ceiling and wall usually relate
- Crown matches the rest of the trim. This is the most common and the safest choice. The crown, baseboard and door casings are all one white, in one sheen, so the room reads as a single scheme. It also makes touch-ups simple, because there is one can of trim paint for the whole house.
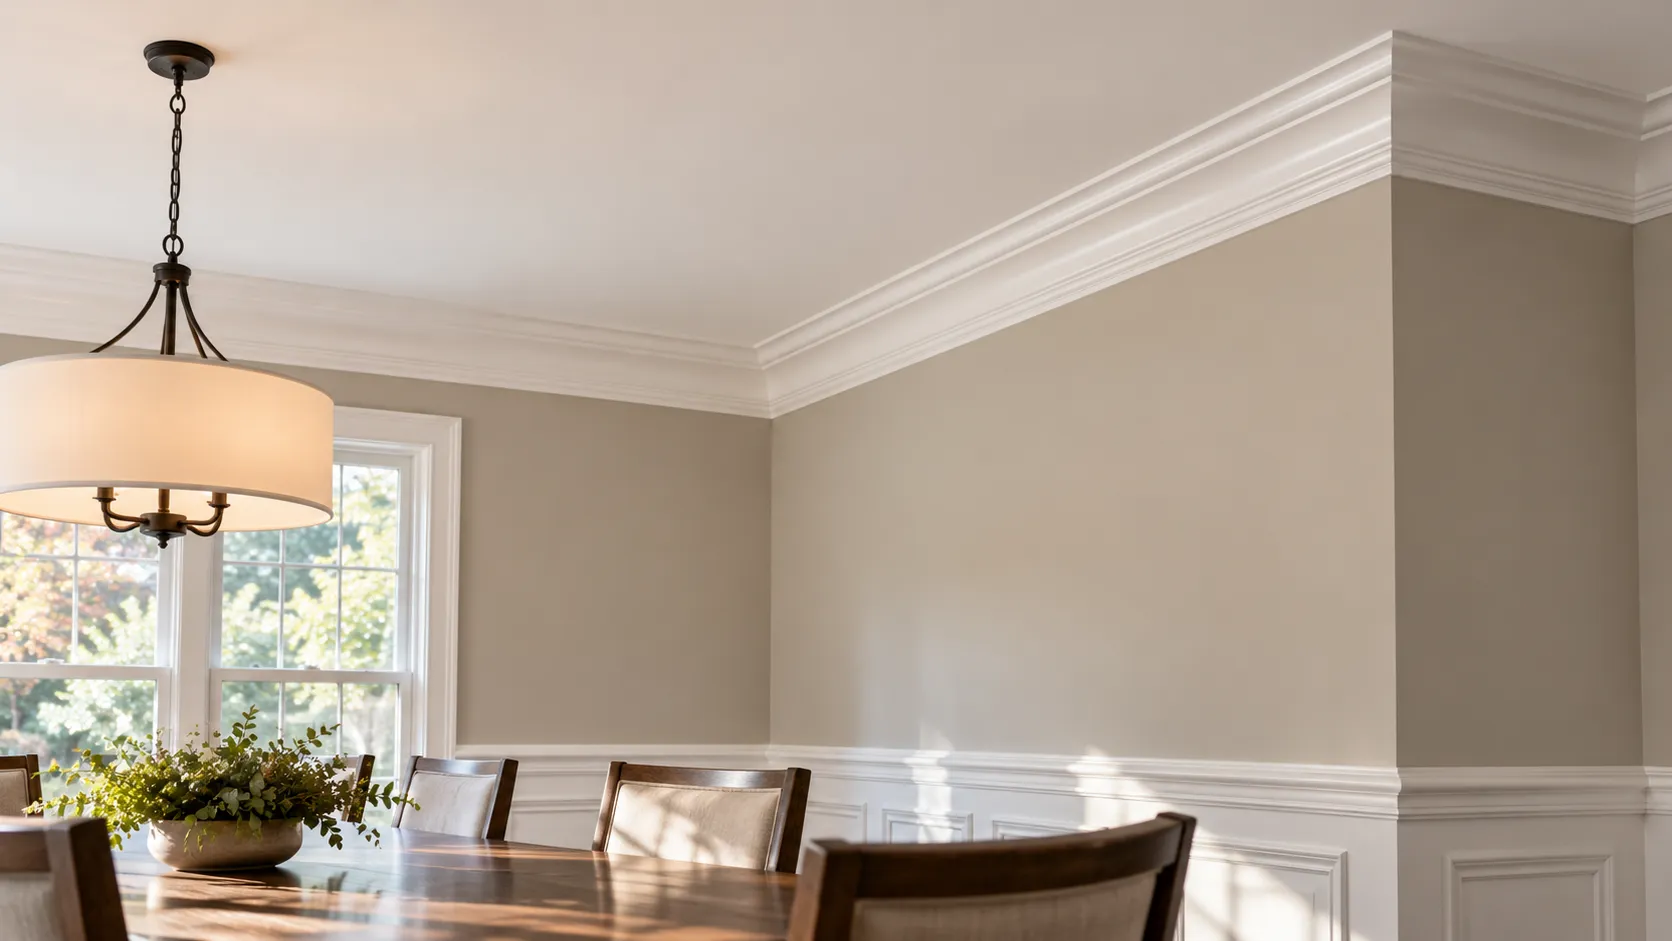
- Crown white, ceiling a flat version of the same white. Using the trim colour on the ceiling in a flat finish blurs the line between them. The crown then reads as part of the ceiling, which makes a low room feel taller. The sheen difference still shows the profile.
- Crown painted the wall colour. Painting crown the same colour as the wall, usually one sheen step higher, makes it read as architecture rather than trim. It works well with deep wall colours and in rooms where white crown would look busy. It also hides less-than-perfect crown better than white does.
- Crown, walls and ceiling all one colour. This is a modern look, popular with dark colours in dens and dining rooms, where the sheen changes do the work. It needs very clean prep, because there is no colour line to hide a wobbly edge behind.
For the wall colours themselves, our guide to popular interior paint colors in NJ is the place to start. For the ceiling white and its sheen, see our guide on how to paint a ceiling.
What Is Your Crown Made Of? Wood, MDF and Polyurethane
"Paintable crown molding" covers three very different materials, and they need slightly different handling.
Solid wood and finger-jointed pine
Older New Jersey houses mostly have solid wood crown. Newer ones often have finger-jointed pine, short lengths glued end to end and primed at the factory. Both take paint well. Both also move with the seasons, which matters for the joints (see below). Bare wood needs a primer: Benjamin Moore's Advance sheet calls for "Fresh Start® High-Hiding All Purpose Primer (046) or Fresh Start® Undercoater and Primer/Sealer (032)" under "wood, and engineered wood products." Sherwin-Williams' trim enamel sheets specify a coat of Premium Wall & Wood Primer before two finish coats.
Knots in pine are the one place a standard waterborne primer often is not enough. Benjamin Moore's Fresh Start 046 sheet says plainly that it is "not recommended for sealing knots or over pine sap." The Emerald Urethane sheet notes that knots and some woods "contain a high amount of tannin, a colored wood extract," and gives the fix for interior work: "If staining persists, spot prime severe areas with 1 coat of Multi-Purpose Oil-Based Primer." On white crown, a knot that shows through as a yellow-brown ring is a primer problem, not a paint problem. Spot-priming it with the oil-based primer is the fix.
MDF crown
Medium-density fibreboard crown comes primed, is dead straight, and has no grain or knots, so it paints very smoothly. Its weakness is water. Windsor Plywood's trade note puts it simply: "MDF absorbs moisture through cut edges. Seal all cut ends with primer or PVA glue before installation." Benjamin Moore's Advance sheet lists Fresh Start 046 for MDF, and its high-gloss sheet calls for Advance Waterborne Interior Alkyd Primer 790 on "Wood, MDF & Thermofoil." Do not sand the factory primer on MDF through to the fibres. Raw MDF fuzzes up when the paint hits it and has to be primed again.
Our practice: MDF crown is a good choice for most bedrooms, living rooms and dining rooms, and we avoid it in bathrooms. Where MDF crown is already up, we check that the cut ends were primed, and prime any bare ones before painting.
Polyurethane (foam) crown
Polyurethane crown is a cast, lightweight, factory-primed product, often with a lot of detail. Fypon's instructions state that "Fypon polyurethane products are factory primed," and that you should "always use interior/exterior-grade, PUR compatible adhesives, sealants, and fillers," adding that "any adhesives, sealants, fillers or paint used must be compatible with the material that is being installed." Ekena Millwork's crown instructions recommend "100% acrylic latex paint." Polyurethane does not swell and shrink with humidity the way wood does, which is a real advantage on long runs. Its weaknesses are that it dents easily and that its detail fills up quickly if the paint goes on heavy, so thin coats matter even more than on wood.
Do You Paint Crown Molding Before or After Installing It?
Both, if you want it to look its best. The moulding makers recommend finishing it before it goes up. Ekena's crown instructions say "it is highly recommended that you paint or finish moulding with 100% acrylic latex paint before installation" and "once installed, you can apply any necessary touch-up paint or finish." Alexandria Moulding says "staining or painting the moulding before it is installed is recommended."
The reasoning is simple. On sawhorses, at waist height, you can paint the whole face in long, even strokes with nothing to cut in against. The installation then fills nail holes and caulks joints, and those spots need paint anyway. So the realistic sequence for new crown is:
- Let the moulding sit in the room for a few days before it is cut. Ekena says to "place moulding in room 2 to 3 days prior to installation. This allows the moulding to adjust to the temperature of the room."
- Prime any bare wood and every cut end, and apply the first finish coat on the bench.
- Install, glue the joints as the method calls for, set the nails.
- Fill the nail holes and sand the filler flush; caulk the top and bottom edges to the ceiling and wall.
- Spot-prime the filler, then put the final coat on in place, cutting it to the ceiling and wall lines.
When new crown has been installed by a carpenter or the homeowner before we paint, the ceiling is usually painted before the crown goes up and the walls after, so each of those finishes ends at a clean caulked line. More on the order below.
How to Prepare Crown Molding for Paint
Preparation is most of the job on crown, and it is where professional work and a quick coat of paint differ most. The data sheets are unanimous on the basics. Benjamin Moore: "Surfaces to be painted must be clean, dry, and free of dirt, dust, grease, oil, soap, wax, scaling paint, water soluble materials, and mildew." Sherwin-Williams: "Remove all surface contamination by washing with an appropriate cleaner, rinse thoroughly and allow to dry."
1. Protect the room
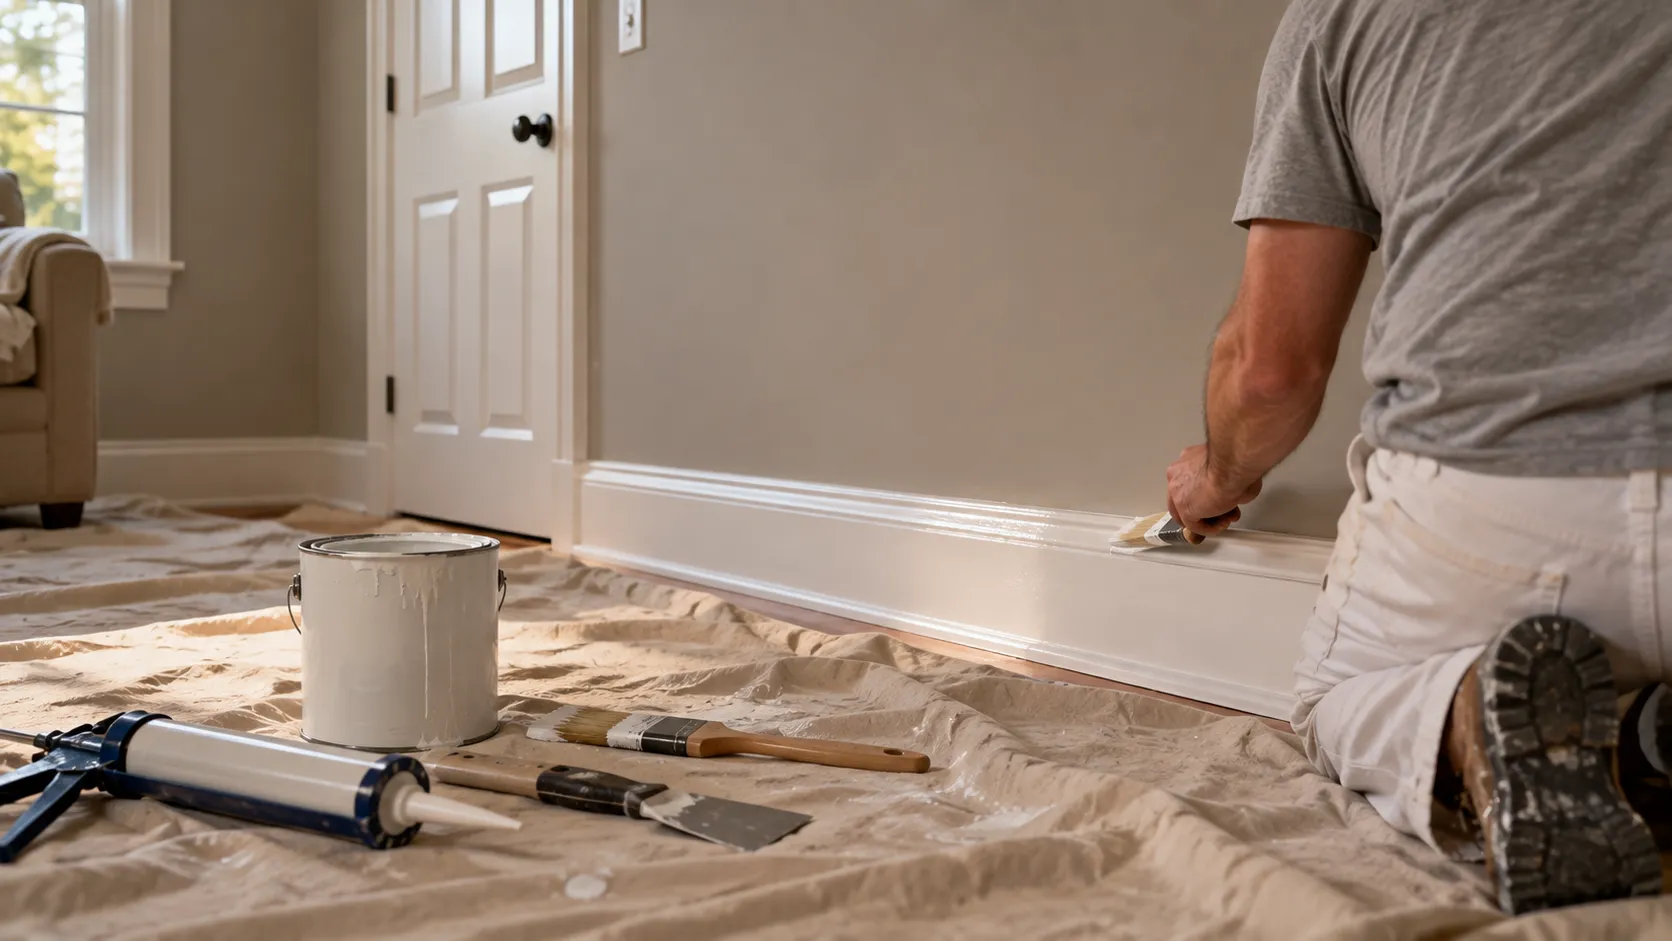
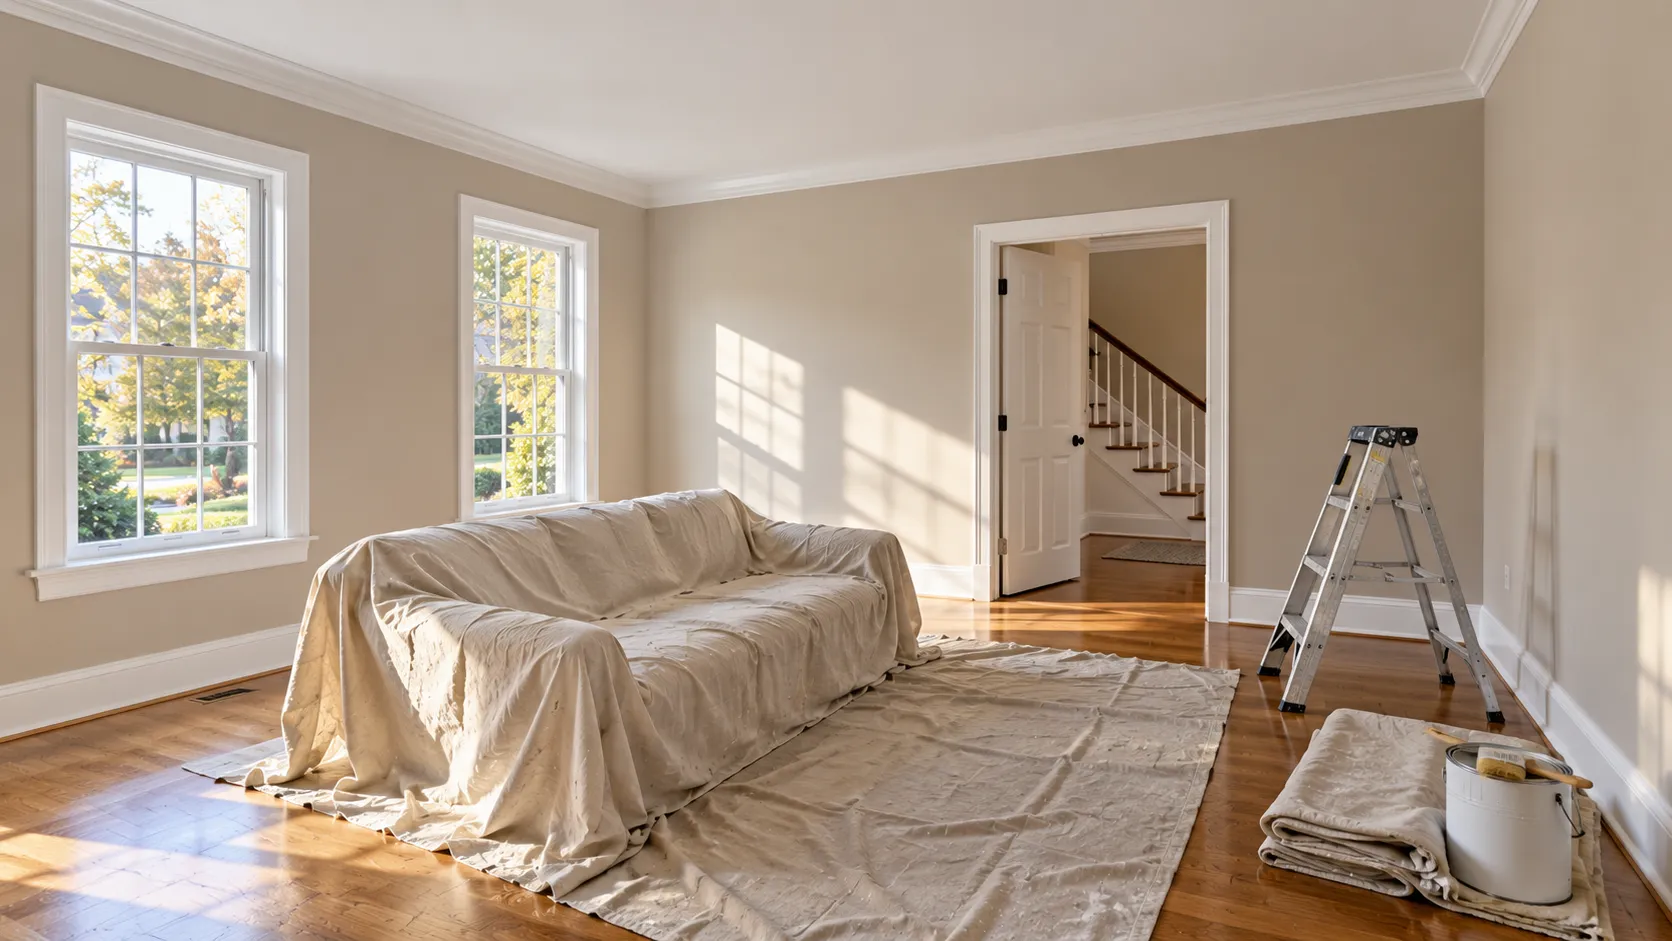
Crown is painted from a ladder or a step-up bench, and everything below it gets dripped on eventually. We cover the floor along the whole wall with drop cloths, move furniture into the middle of the room and cover it, and take down anything hanging close to the ceiling. Living with the work in progress is easier than most people expect; our guide to living in your house while it is painted covers how a room-by-room job runs.
2. Clean
Crown collects a fine film of dust, cooking grease near kitchens and, in older houses, years of smoke and candle soot. Paint applied over that film can peel off in strips later. A wipe with a mild degreasing cleaner, a rinse and a full dry is the minimum. In kitchens it is a proper wash.
3. Dull the old finish
Existing gloss has to be scuffed, or the new paint is sitting on glass. Sherwin-Williams: "Glossy surfaces should be sanded dull." Benjamin Moore: "Glossy areas should be dulled." On crown that means a light hand-sanding with a fine sanding sponge, which follows the curves of the profile better than flat paper. We then vacuum and tack the dust off. A liquid deglosser is an alternative some painters use; we prefer sanding because you can feel when the surface is right. Either way, the goal is a uniformly dull surface with no shiny spots left in the coves.
4. Fill nail holes and dents
Every nail hole in crown shows as a dimple in a semi-gloss finish. Alexandria Moulding's advice is to "always use a non-shrinking filler" and that "a lightweight Spackle or Shur-Patch is best," then "once holes have been filled and allowed to dry, lightly sand these areas to remove any rough spots." Sherwin-Williams' wood instruction is "patch all holes and imperfections with a wood filler or putty and sand smooth," and the Emerald Urethane sheet adds: "All patched areas must be primed." That last point is the one people skip. Unprimed filler absorbs the topcoat differently and shows as a dull spot, called flashing, in a glossy finish.
5. Prime
Bare wood, filler, cut ends, and any areas sanded through to the substrate get primer. Sound, dulled old paint generally does not need a full prime coat. Benjamin Moore's sheet says "previously painted surfaces may be primed or spot primed as necessary." The exception is a big colour change: Sherwin-Williams says "when repainting involves a drastic color change, a coat of primer will improve the hiding performance of the topcoat color." That matters most when dark-stained or wall-coloured crown is going white.
6. Caulk the joints
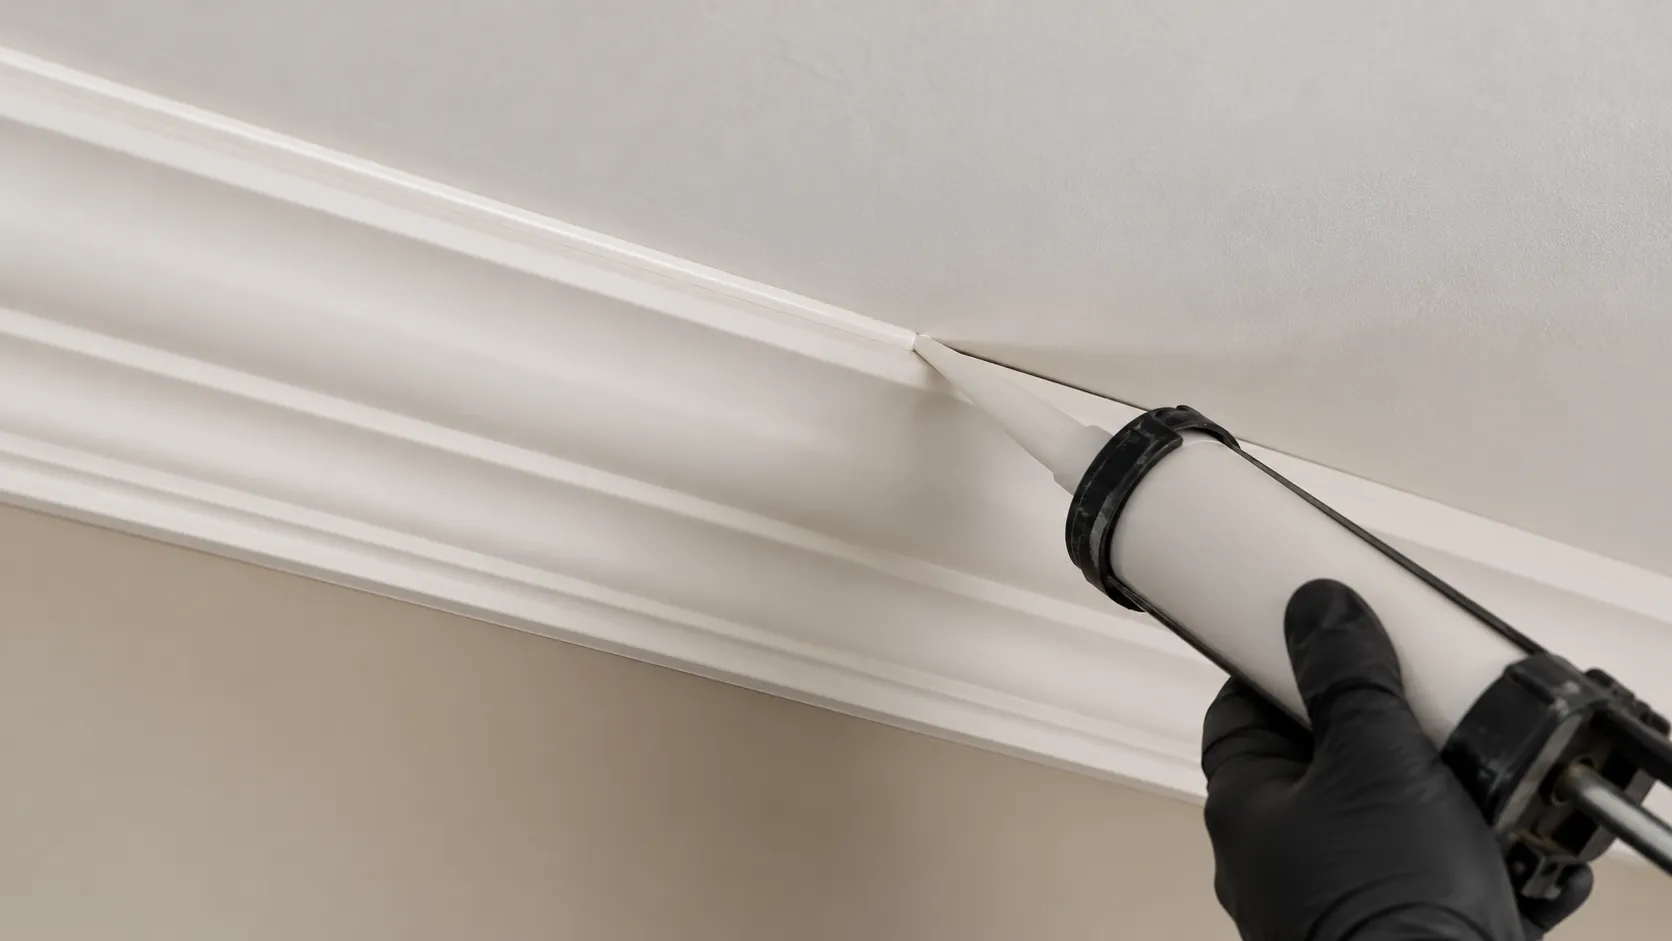
This is the step that makes crown look crisp. Crown never meets a wall or ceiling perfectly, because walls and ceilings are not flat. A thin bead of paintable caulk along the top edge (crown to ceiling) and the bottom edge (crown to wall), tooled smooth, turns a dark shadow gap into a clean line that the paint can follow.
The order matters, and the sheets say what it is. Both Sherwin-Williams trim enamel sheets: "Gaps between walls, ceilings, crown moldings, and other interior trim can be filled with the appropriate caulk after priming the surface." Caulk sticks better to primer than to bare wood, and it does not get sanded off in prep.
For the caulk itself, look for a paintable acrylic latex that meets ASTM C834; the number is printed on the tube. DAP's bulletin for ALEX PLUS, a common painter's caulk, says it "exceeds ASTM C834," lists "molding & trim" and "corner joints" among its uses, and says it is "paintable in just 30 minutes with latex or oil-based paints." It also says to "allow caulk to dry at least 30 minutes (longer in cool or humid conditions) before painting," gives a full cure of "24 hours (@3/16” bead)," and rates its "dynamic joint movement" at "± 12%." Two limits on the same bulletin are worth knowing. It says "do not use … for filling butt joints, surface defects," so nail holes and the end-to-end joints in long crown runs get filler, not caulk. And "joint size should not exceed 1/2” wide x 1/2” deep." A gap wider than that between crown and ceiling is a sign the crown has pulled away or the ceiling has moved, not something to fill with caulk.
Our practice: a small bead, cut from a small nozzle, pushed rather than pulled, and tooled with a damp finger or a tooling tool. Then the excess is wiped off the crown face before it skins. A fat bead smeared across the profile is worse than no caulk, because it fills the detail and shows as a soft blob under paint. General caulking and sealing is part of our work on every interior job.
Repainting Old Crown Molding: Is It Oil or Latex?
If your crown was painted before about the 1990s, there is a good chance the top coat is oil. Painting a waterborne enamel straight over glossy oil without preparation is one of the most common causes of trim paint that peels off in sheets. Benjamin Moore's Advance sheets say it directly: "Sand glossy alkyds before applying Advance," and, on the high-gloss sheet, "Hard Glossy Alkyd Surfaces: Abrasion by sanding leads to optimum adhesion."
The quick test takes a minute. Bob Vila's guide gives the common method: "Saturate a cotton ball with isopropyl alcohol," "apply the cotton ball to the painted surface," and "lift the cotton ball off of the surface and see if the paint transfers on to the cotton ball." If paint comes off on the cotton, the finish is water-based. If nothing transfers, it is likely oil. Do it on an out-of-the-way spot, on clean paint, and use a dark cloth if the paint is white so you can see what came off. For the longer version of this test, and of priming over oil, see our guide to oil vs latex paint and primer.
If the crown is oil, the safe sequence is to clean it, sand it dull, then apply a bonding primer, then the enamel. INSL-X Stix, a Benjamin Moore product, is a "waterborne, acrylic urethane primer/sealer" whose sheet lists adhesion to "Glossy Paints" and recommends it for "Wood Trim & Doors." The sheet does say it can be used "over most glossy surfaces without sanding," but its own special note adds that "glossy painted surfaces should be properly deglossed," and that it takes "approximately 3 to 4 days to achieve maximum resistance to scrape off," even though it "may be topcoated … within 3 to 4 hours." We degloss anyway. On crown, nobody is going to scrape the finish, but a bonding primer still holds best on a scuffed surface.
Old paint and the EPA lead rule
Old crown is also where old paint is most likely to be lead paint. Lead was common in trim enamels for decades, and sanding old trim makes dust. The paint makers print the warning on their sheets. Benjamin Moore: "If you scrape, sand, or remove old paint, you may release lead dust. LEAD IS TOXIC."
The EPA's Renovation, Repair and Painting rule requires that "anyone paid to perform work that disturbs painted surfaces in homes, childcare facilities and preschools built before 1978" be certified, and the agency "recommends that homeowners hire a lead-safe certified contractor." We are not an EPA Lead-Safe Certified firm. That is a licensing fact, not a choice of wording, and it means there is pre-1978 work we will tell you to take to a certified firm. If your house was built before 1978 and the old crown paint will be sanded or scraped, ask every bidder for their firm certification number and check it with the search tool on the EPA's Renovation, Repair and Painting program page. Our guide to lead paint in older NJ homes covers testing and New Jersey's own rules.
In What Order Do You Paint the Ceiling, Crown and Walls?
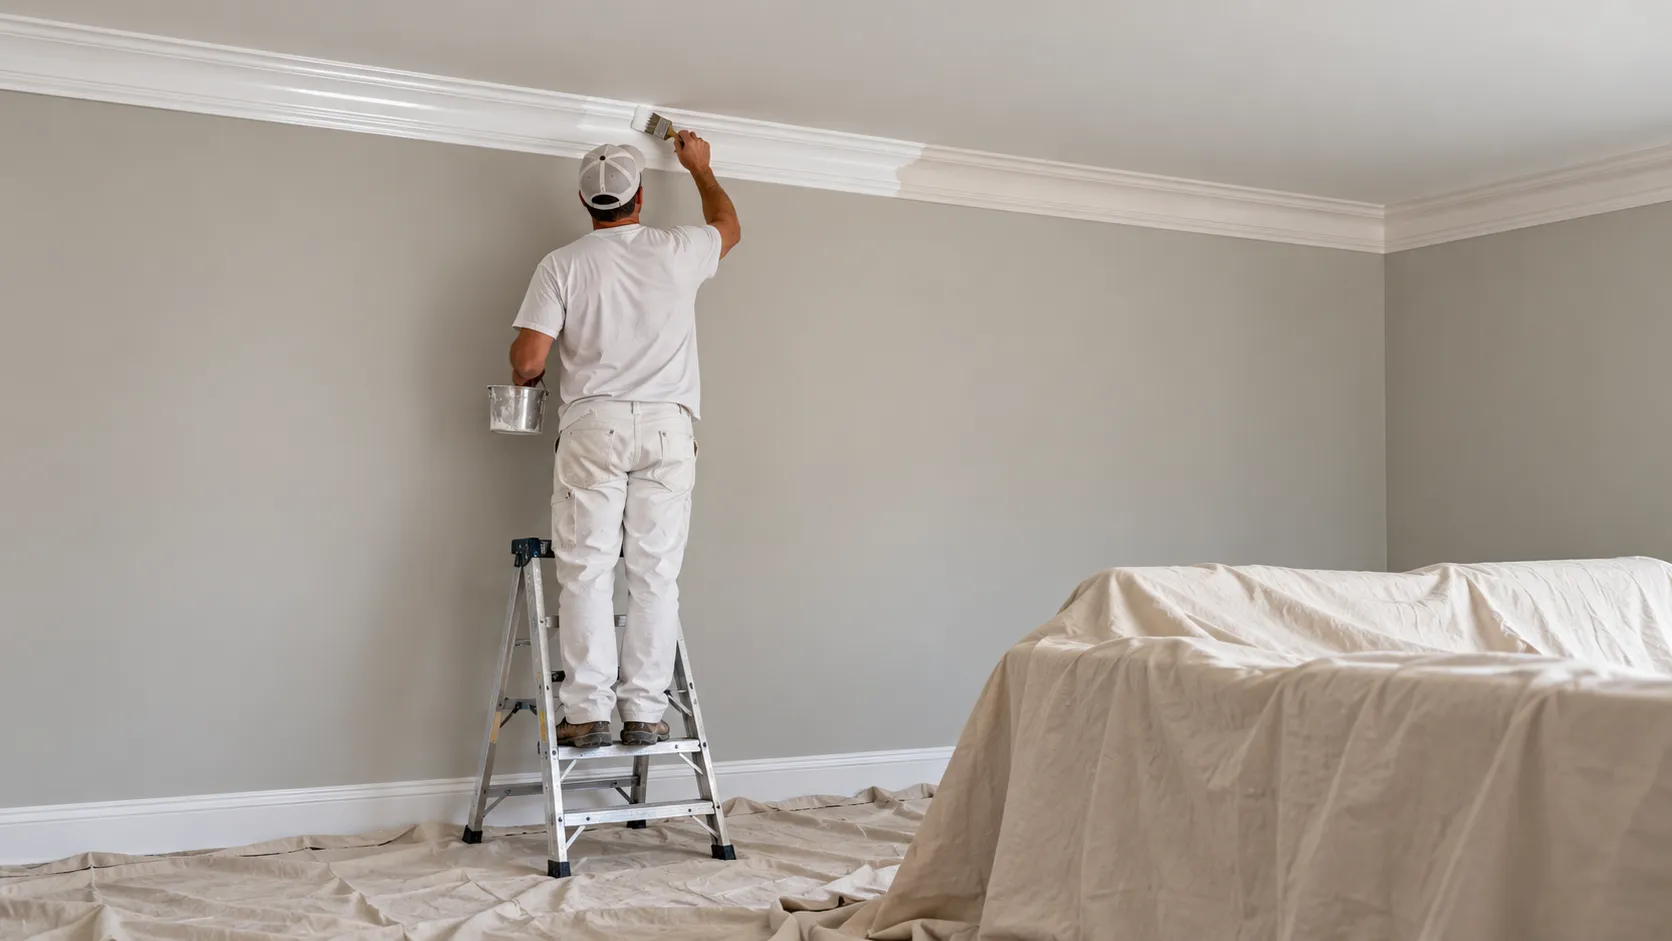
Ceiling first, then the crown, then the walls, then the lower trim, doors and baseboards. That is the order we use on every room with crown, and the logic is about which edge each surface gets to cut.
- Ceiling. Paint it first, and let the roller and brush lap slightly onto the top edge of the crown. Nobody cuts a perfect line against a flat ceiling from below with a roller, and they do not need to: the crown will cover that overlap.
- Crown. Paint the crown face, cutting a clean line against the now-finished ceiling along the top edge, and letting the bottom edge lap slightly onto the wall.
- Walls. Cut the walls in to the bottom edge of the crown, covering the overlap, and roll.
- Baseboards, doors and other trim. Last, so drips from above land on surfaces not yet finished.
Doing it this way means only two of the cut lines are held by hand: the crown against the ceiling and the wall against the crown. Both are cut against a caulked joint, which gives the brush a clean edge to follow. Our ceiling guide covers the first step in detail, including where tape is worth using against a crown profile.
Repainting just the crown, in a room whose walls and ceiling are staying, reverses the logic. Now you are cutting both edges of the crown by hand, against finishes you do not want to touch. That is where careful brushwork, and on some jobs a low-tack tape on the wall below, earns its keep.
How to Paint Crown Molding Step by Step
Tools
- A good angled sash brush, 2 to 2½ inches, with nylon/polyester bristles for waterborne enamels. Benjamin Moore specifies "nylon / polyester" for Advance, and Sherwin-Williams says ProClassic needs "a nylon/polyester brush" and "do not use a China bristle brush."
- A small roller, optionally, for wide flat crown faces: Sherwin-Williams gives "1/4 to 1/2 inch nap synthetic cover" for Emerald Urethane.
- A step ladder or a step-up bench long enough that you are not reaching. A painter leaning sideways off a ladder paints a wavy line.
- A small paint pot with a magnet or a rim to wipe the brush, rather than working out of the can.
- A good light, held low or to one side so it rakes across the profile. That is how you see sags and holidays (missed spots) before they dry.
The first coat
Load the brush about a third of the bristle length, tap it off on the inside of the pot rather than dragging it across the rim, and lay the paint on in a section about an arm's length long. Brush along the length of the crown, never across it, and finish each section with one light, continuous stroke from the wet edge back into the section you just painted. Benjamin Moore's application note for Advance says to "apply paint generously from unpainted area into wet area" and to "avoid lap marks by maintaining a wet edge." "Generously" there means a full, even coat, not a heavy one.
Work in long runs, one wall at a time, rather than jumping around the room. Each section needs to be joined to the next while both are still wet. With a long open-time enamel like Advance, that is easy. With a faster-drying product, it means not stopping in the middle of a wall.
Cutting a clean line to the ceiling
The clean line is a matter of technique more than steadiness of hand. Our practice: with a brush that is not overloaded, place the bristle tip about a quarter of an inch below the ceiling line and press gently so the bristles fan up toward the joint. Then draw the brush along, letting the tip of the fan ride the caulk line. The caulk bead is the guide. That is why caulking well matters as much as brushing well. Go back over the line once, lightly, while it is wet, and leave it.
The second coat
Wait for the recoat time on the sheet, longer in humid weather, then sand very lightly with a fine sponge to knock down dust nibs. Benjamin Moore's cabinetry note on Advance says "light sanding between coats allows for a smoother finish; all dust must be cleaned," and the same is true of crown. Vacuum, wipe with a barely damp cloth, and apply the second coat the same way as the first. Two finish coats is the norm: Alexandria Moulding says "we recommend two finish coats for top-quality durability and appearance," and Sherwin-Williams' systems are written for two.
How to Paint Crown Molding Without Drips
Drips and sags on crown come from four causes, and each has a simple fix. This is our own practice, consistent with the sheets' film-build figures.
- Too much paint on the brush. A loaded brush pressed into the cove of a crown profile squeezes paint out at the bottom edge, where it runs. Load a third of the bristles and tap off. Advance's sheet gives a recommended wet film of "3.2 – 4.0 mils," which is a thin coat by any standard.
- Going back over semi-dry paint. Enamel that has started to set drags when it is brushed again, and the drag leaves ridges and pulls paint into sags. Lay off each section once, then leave it.
- Not checking. A few minutes after finishing each wall, go back with a light held at a low angle and look along the bottom edges of the crown and in the coves. A sag caught while wet is brushed out in one stroke. A sag found the next day has to be sanded out.
- Thinning the paint. Some people thin enamel to help it flow. A little water is sometimes allowed: Advance's sheet says "thinning is unnecessary, but if required … a small amount of clean water may be added – Max of 8 fl. oz. to a gallon paint." Sherwin-Williams says "no reduction needed" for its trim enamels. Thinned paint runs more readily on a vertical face, so we do not thin for brushing crown.
Paint drips on the floor and furniture are a separate problem with a simpler answer: cover everything below the work, and keep a damp rag in your pocket for spots on anything that was not covered.
Brush, Roller or Spray?
For repainting crown in place, a brush, every time. Spraying crown on a finished room means masking the entire ceiling and wall next to it, which takes longer than brushing and risks overspray on everything nearby. On new construction or a gut renovation, when the walls and ceiling are not yet finished, spraying trim is common and very fast, and the data sheets support it. Sherwin-Williams lists airless spray for ProClassic at "2000 p.s.i." with a fine-finish tip of ".010-.014 inch," calling a fine-finish tip "the preferred method of spray application due to the characteristics of this product." Emerald Urethane's sheet gives ".013-.017 inch" at 2000 p.s.i., plus an HVLP setting. Advance's sheet lists airless at "1,500 – 2,500 PSI" with a "0.011 – 0.015" tip, and HVLP. Our guide to new construction painting describes how trim is sprayed at that stage.
On loose crown being painted before installation, spraying on the bench is also fast and gives a superb finish, and the touch-ups after installation are then brushed. Sherwin-Williams' tip for that touch-up is worth following: "Using the same method of application and batch to touch up with as that originally used will help improve touch up," and "when original application was by spray, preconditioning of touch up paint by running it through the spray tip will help touch up appearance." The same brush-versus-spray trade-offs on a different kind of woodwork are laid out in our guide to spray vs brush cabinet painting.
How Long Before the Paint Is Hard?
Longer than it feels. Waterborne trim enamels dry to touch in hours but take weeks to reach full hardness. Benjamin Moore's sheet for Advance says "full hardness and adhesion develop over time" and that "it could take up to 30 days to reach optimum hardness and final sheen." It also says not to expose the finish to "heavy abrasion" for "at least 5 – 7 days." ProClassic's own gloss figures change between 24 hours and 30 days as the film settles. Crown is rarely touched, which is one advantage it has over doors and baseboards. But it does mean that hanging pictures off the crown, or pushing a ladder against it for the walls, should wait. Our guide to when it is safe to sleep in a painted room covers the ventilation side of drying.
Why Crown Molding Joints Crack, and What Painting Can and Cannot Fix
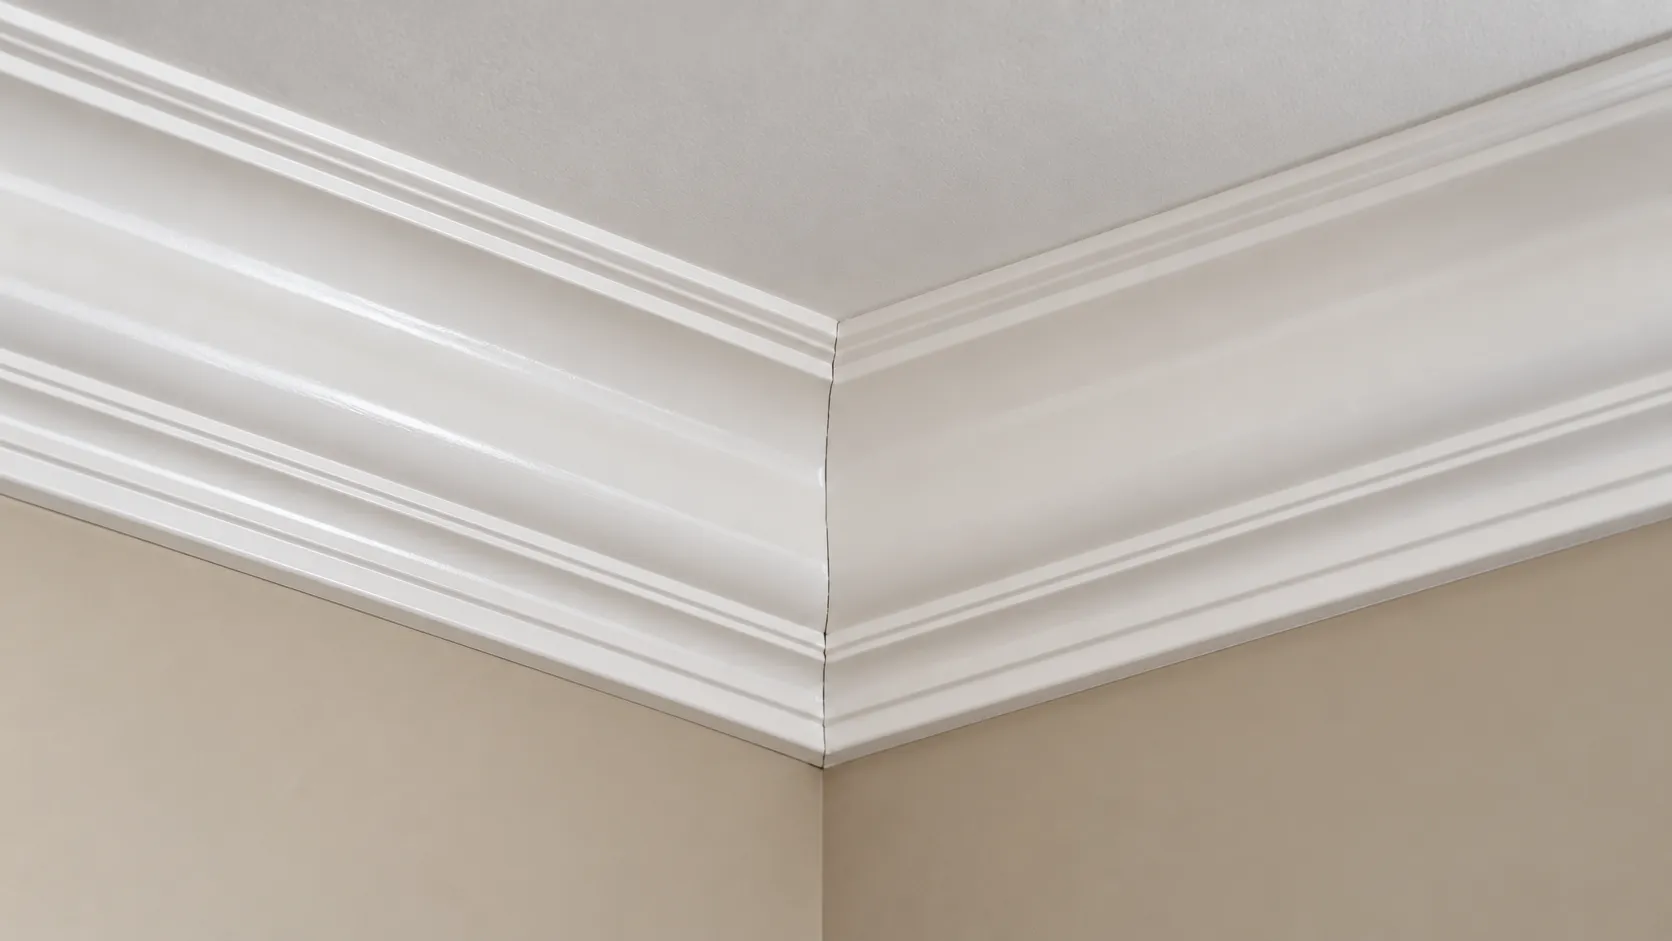
The most common complaint about painted crown molding in New Jersey is not the paint. It is the hairline cracks at the miters, and the gap that opens along the top edge, every winter. Most of the time that is wood and the house moving with the seasons, and it is worth understanding before anyone tries to fix it with caulk.
Wood moves with the humidity
Wood takes on and gives up moisture until it matches the air around it. Purdue Extension's bulletin on wood moisture gives the numbers. At "70° F and 35 percent relative humidity, the EMC [equilibrium moisture content] for wood is 6.9 percent," conditions "typical of conditions in homes and offices." In "a heated house during winter time," with no humidifier running, "the relative humidity can drop to 20 percent or less and at 70° F, the EMC is 4.5 percent." It adds that "after a winter of heating, cracks can develop in wood floors, and furniture joints can open." In summer, "when summer conditions of 80° F and 80 percent relative humidity develop, the wood EMC increases to 15.7 percent" (that is an outdoor-air figure; air-conditioned rooms stay well below it). The bulletin also says the change takes time, and that "with a few weeks to a month or more, a significant change in moisture content can occur."
That swing, from dry heated winters to humid summers, is the New Jersey pattern. Crown is a wide piece of wood, and the miter at a corner is two pieces cut across the grain, meeting at an angle. As each piece shrinks across its width in winter, the miter opens. Fine Homebuilding's guide to miters says "even the tightest miters can open weeks or months after the trim is installed," and "as the moisture content of the wood changes seasonally." It also notes that "butt joints hide seasonal movement and are more likely to stay closed than mitered joints," which is why careful installers cope inside corners rather than mitering them, and glue outside miters. Its advice for outside miters: "glue your miters with wood glue."
The ceiling moves too
The gap that opens along the top of the crown in winter and closes in summer is often not the crown at all. In houses with roof trusses, the bottom of the truss can arch upward in winter as it dries, lifting the ceiling off the top of the interior walls. A contributor to WOODWEB's knowledge base, a woodworking trade forum, explains that it "causes the truss lower chord to shrink and contract in length, causing the ceiling to lift," and "since the walls are not connected to the trusses, separation occurs." Crown fastened to the wall stays where it is; the ceiling rises away from it, and the caulk line splits.
What we do about it
- Hairline cracks at miters and along the caulk line on otherwise sound crown are filled, caulked and painted as part of a repaint. A flexible acrylic caulk handles small movement. DAP rates ALEX PLUS at "± 12%" joint movement. But no caulk will hold a gap that opens and closes by an eighth of an inch every year.
- Seasonal gaps that come back every winter are best re-caulked in the season when the gap is at its widest, so the caulk is not stretched to its limit. In our experience a room humidifier in winter also makes a visible difference to trim joints, consistent with the Purdue figures above.
- Crown that has pulled away from the wall or ceiling, or where the gap is more than the caulk's rated half inch, needs refastening before it is painted. Refastening is carpentry, not something we do, so a carpenter sets it right first and we paint afterwards.
- Ceilings that move a lot, sagging ceilings and structural cracks are not a painting or trim problem. Framing and truss repair are not services we offer, and we will say so at the estimate.
- Cracks in a plaster ceiling or plaster wall along the crown are plaster work, and plaster repair is not a service we offer. Drywall and sheetrock repair is; our guide to drywall and sheetrock repair covers what that involves.
Crown Molding in Bathrooms, Kitchens and Damp Rooms
Crown in a bathroom lives in steam, and crown in a kitchen collects grease. Both are reasons to choose the material and the finish more carefully. In bathrooms, solid wood or polyurethane crown, fully primed including the back and the cut ends, is a better choice than MDF. A semi-gloss or high-gloss enamel sheds moisture and wipes clean better than satin. In kitchens, the crown near the range needs a proper degreasing before any paint goes near it. Our guides to the best paint for bathroom walls and the best paint and sheen for kitchen walls cover the walls and ceilings around the crown in both rooms. Crown on top of kitchen cabinets is part of the cabinets, and our cabinet painting work covers it.
New Crown Molding: We Paint It, a Carpenter Installs It
NJ Painting Co. paints crown molding and does not install it. A lot of New Jersey houses built from the 1960s onward have no crown at all, or a thin builder's cove that looks lost in a larger room, and adding paint-grade crown is one of the most visible changes you can make to a room. That installation is carpentry. A carpenter or the homeowner puts the crown up, and we then caulk, fill and paint it along with the rest of the room.
What our crown work covers, so there is no ambiguity:
- Painting crown in wood, finger-jointed pine, MDF or polyurethane, whether it is old or newly installed and ready for paint.
- Caulking, filling and painting of the crown, along with the ceiling and walls if those are part of the job.
- Wainscoting and chair rail, which we also paint, often in the same rooms; see our guide to painting wainscoting and chair rail.
What it does not cover: installing crown, wainscoting or chair rail, refastening or replacing crown, stain-grade or clear-finished crown, built-ins, coffered or beamed ceilings, replacement of door casings and other finish carpentry, and anything involving the structure of the ceiling. We do not paint window trim or sills, and we do not re-caulk around windows and doors. Faux, Venetian plaster and texture finishes are not services we offer. And we do not do historic restoration. Painting crown in an older house is fine; matching and repairing a historic plaster cornice is a restoration specialist's work.
What We Do, and Do Not Do, on Crown Molding
- We paint crown molding as part of a room or a whole interior, or on its own with the rest of the trim, in Benjamin Moore and Sherwin-Williams trim enamels.
- We paint new crown once it is installed, and do not install it ourselves.
- We clean, dull, fill and spot-prime before any finish goes on, and prime filler so it does not flash.
- We caulk the crown to the ceiling and wall after priming, with a paintable acrylic caulk that meets ASTM C834.
- We test old crown for oil and degloss and bond-prime it before a waterborne enamel goes over it.
- We paint ceiling, crown and walls in that order, so each cut line is held once, against a caulked joint.
- We brush two thin finish coats, and wait the data sheet's recoat time, longer in humid weather.
- We write the surfaces, prep, products, sheen and number of coats on the estimate, so you can compare bids line by line.
What we do not do: plaster repair, faux and texture finishes, crown, wainscoting and chair rail installation, other finish carpentry, window trim and sill painting, re-caulking windows and doors, historic restoration, and framing or ceiling structural repair. And we do not hold EPA Lead-Safe (RRP) certification: on a house built before 1978, ask us, and every other bidder, for a firm certification number before anyone sands or scrapes old paint.
Get a Price for Painting Crown Molding
Crown painting is priced by the linear foot, and the height of the room, the condition of the old finish, whether it is oil, how many joints need work and whether the colour is changing all move the number. That is why we look at the room rather than quote from a photo. For how trim pricing is built, see our article on what it costs to paint trim, doors and baseboards in NJ and the interior section of our painting cost guide. NJ Painting Co. is a family-owned painting company at 36 Church Rd, Morganville, NJ 07751, working on New Jersey homes for more than 20 years with Benjamin Moore and Sherwin-Williams products. Every estimate is free and spells out surfaces, prep, products and number of coats. For the work itself, see our interior painting service. Call (732) 239-0932 or request a free estimate, and ask us about the job minimum when you enquire.
Frequently Asked Questions
What kind of paint do you use on crown molding?
An interior trim enamel: a waterborne alkyd such as Benjamin Moore Advance, an acrylic-alkyd hybrid such as Sherwin-Williams ProClassic, or a urethane-modified alkyd such as Sherwin-Williams Emerald Urethane Trim Enamel. They level out like oil paint, dry hard and clean up with water. Ordinary wall paint stays softer and shows more brush marks on a profile lit from the side.
Should crown molding be semi-gloss or satin?
Semi-gloss in most rooms. It is hard, wipes clean and sets the crown apart from a flat ceiling and an eggshell wall, and Benjamin Moore says it is suited to highlighting architectural details. Satin is the softer choice for older or imperfect crown, or where the trim should blend in. Sheen readings vary by brand, so match the product, not just the sheen name, when touching up.
Is high gloss a good idea for crown molding?
Only on crown that is new or in excellent condition with tight, well-caulked joints. High gloss is very hard and easy to clean, but Benjamin Moore warns that a gloss finish can accentuate blemishes and should be avoided on areas that are not completely smooth. Expect more prep and light sanding between coats to get a high-gloss finish right.
What is the best white paint for crown molding?
There is no single best white; the right one is the one that looks right next to your ceiling and walls in your room's light. Popular trim whites include Benjamin Moore Chantilly Lace OC-65 (LRV 90.04), Simply White OC-117 (89.52) and White Dove OC-17 (83.16), and Sherwin-Williams Extra White SW 7006 (85.861) and Pure White SW 7005 (83.957). Choose the crown white and the ceiling white together.
Do you paint crown molding before or after installing it?
Both. The moulding makers recommend finishing crown before installation, and Ekena Millwork says you can then apply touch-up paint once it is installed. In practice the crown is primed, cut ends sealed and given a coat on the bench, then installed, filled and caulked, and the final coat goes on in place.
Do you paint the ceiling or the crown molding first?
The ceiling first, then the crown, then the walls, then the baseboards and doors. The ceiling paint laps slightly onto the crown; the crown is cut cleanly to the ceiling and laps onto the wall; and the walls are cut back to the crown. That way each visible line is cut only once, against a caulked joint.
How do you paint crown molding without getting paint on the ceiling?
Caulk the joint first, so there is a clean edge to follow, and do not overload the brush. Place an angled sash brush just below the line, press gently so the bristles fan toward the joint, and draw it along the caulk bead. Low-tack tape on the wall or ceiling helps when you are repainting only the crown in a room whose other surfaces are staying.
How do you avoid drips when painting crown molding?
Load only about a third of the bristles and tap the brush off, lay each section on and finish it with one light stroke, and do not go back into paint that has started to set. Check each wall a few minutes later with a light held at a low angle and brush out any sag while it is still wet. Do not thin the paint for brushing crown.
Can you paint over oil-based crown molding with latex?
Yes, with preparation. Test it first: an alcohol-soaked cotton ball takes some colour off water-based paint and none off oil. If it is oil, clean it, sand it dull, apply a bonding primer such as INSL-X Stix, then the enamel. Benjamin Moore says to sand glossy alkyds before applying Advance. On a house built before 1978, find out whether the old paint contains lead before anyone sands it.
Do you need to prime crown molding before painting?
Bare wood, MDF cut ends, filler and spots sanded through need primer; sound, dulled old paint generally does not. Sherwin-Williams says a primer improves hiding on a drastic colour change, and its Emerald Urethane sheet says all patched areas must be primed. Knots that bleed through need a spot of oil-based primer, because Benjamin Moore says its Fresh Start 046 is not recommended for sealing knots.
Why does my crown molding crack at the corners every winter?
Usually seasonal movement. Purdue Extension says wood in a heated house in winter can dry to about 4.5 percent moisture, against 6.9 percent in typical indoor conditions, and that joints can open after a winter of heating. Miters open as the crown shrinks, and in houses with roof trusses the ceiling can lift away from the walls. Caulk handles small movement; a gap that comes back every year needs refastening or better joints.
How long does crown molding paint take to dry?
Benjamin Moore Advance is dry to touch in 4 to 6 hours and ready to recoat in 16 hours; Sherwin-Williams ProClassic and Emerald Urethane Trim Enamel are dry to touch in about 1 to 2 hours and recoat in 4, all at 77°F and 50 percent humidity. Humidity and cooler rooms slow all of them. Full hardness takes much longer: Benjamin Moore says up to 30 days for Advance.
About the author
Written by the NJ Painting Co. team
NJ Painting Co. is a family-owned painting contractor based in Monmouth County, in business since 2004. We are licensed and fully insured, work with Benjamin Moore and Sherwin-Williams paints, and back our work with a 2-year workmanship warranty. We serve Monmouth, Middlesex, Ocean, Mercer, Somerset and Burlington counties, plus Union, Essex, Hudson, Bergen and Passaic in North Jersey.